

DIY manicure: spruce up your nails for spring
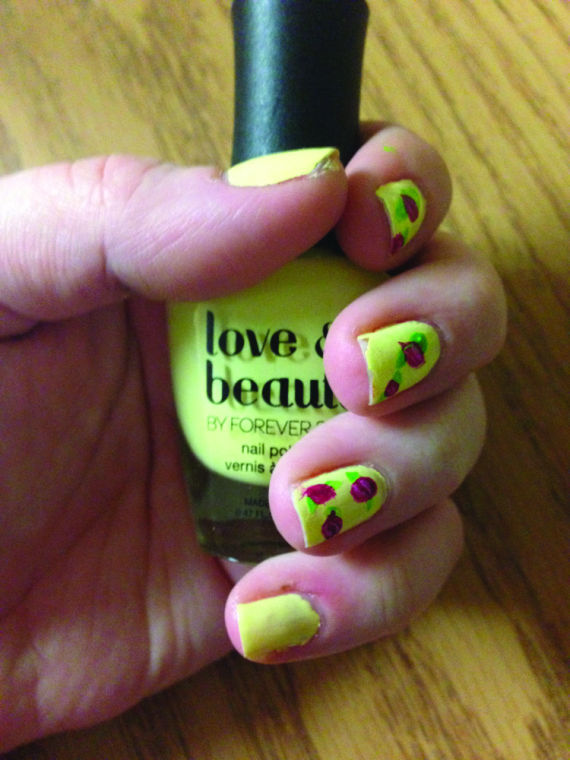
The final product.
March 12, 2014
As spring approaches and your nails can no longer go neglected, the perfect way to welcome the new season is a DIY manicure.
Tools:
1. Lotion: to help fight against the cold which tends to leave skin dry and cracked.
2. Nail polish remover: to remove any extra polish left over from your last manicure.
3. Nail file: to shape tips of nails, and getting rid of sharp edges.
4. Cuticle cream: to soften cuticles making them easy to push back.
5. Nail strengthener: to set a sturdy foundation for your polish.
6. Nail polish in color of your choosing: Bright colors and designs are great for this time of year.
7. Top coat: to leave a nice finish on your nails, and guarantee polish to last longer.
Step 1: Apply lotion generously to your hands. Depending on the sensitivity of your skin, unscented hand lotion will not irritate your skin, while leaving it moisturized.
Step 2: Remove any excess nail polish from your nails. You want a clean slate to work with, especially since you’ll be adding a strengthener. This will create a strong foundation for your nail polish, and hopefully prevent excess chipping and breakage. Sephora sells their Instant Nail Polish Remover in a spherical bottle that contains a sponge saturated with nail polish remover. There is a slit in the sponge so the user can dip their finger in, and as their nail is rubbed against the sponge it quickly removes nail polish without leaving a mess.
Step 3: File down your nails to the shape you prefer. The two most common shapes are square tips or rounded half-moons. Although rounded tips are easier and less likely to scratch with the corners of the nail, it is up to the applicator.
Step 4: Apply a cuticle cream to your nail beds. Cuticle solution comes in both a pen and polish form, but I’ve found The Cuticle Pen by Essie to be easier as you can control how much comes out. Apply the solution to the entirety of your nail, and rub it into your cuticles around the edges of your nail bed.
Step 5: Nail strengthener. Apply this to your entire nail to ensure it will not crack or break over time. This helps with weak nails, and will also help keep the strength in your nails to ensure long lasting look. Essie offers their “All in one” polish. This works as a strengthener and a top coat, a cost effective way to ensure your nail polish stays in place.
Step 6: Polish. Nail polish brands vary from person to person but regardless of your choice, spring colors are a must for this time of year. Pinks, yellows, and oranges are a simple way to show you’re ready for spring, despite the snow that’s still on the ground.
If you’re feeling more daring, the brand Stripe Rite offers a variety of colors from matte to sparkle accompanied by smaller brushes to help with designs. Floral designs are much easier to create than some may realize, and with a little bit of patience you can create the perfect floral design to get you in the mood for spring.
Step 7: Top coat. Once your nails have sufficiently dried, a top coat is necessary to keep your color in place. Essie’s all in one top coat comes in handy and will ensure your manicure lasts.
Step 8: Stop hiding your hands under fuzzy gloves, and show them off!